Monday, December 19, 2011

Holiday Dessert Round-up: Pumpkin Whoopie Pies

Here in New England, we don't mess around with our desserts.  Sure there is the cupcake craze, and now macarons and pies are slowly becoming more of the fad sweets, but nothing makes a pure-blooded Yankee more happy than a classic whoopie pie!


The holidays are the perfect time to enjoy this traditional treat in a more seasonal flavor; pumpkin whoopies with cream cheese filling.  I followed a Martha Stewart recipe to whip up this batch, you can find it here.

Never made whoopies before?  Have no fear, they are easy!  First, you bake up similar sized "cookies" (they are more like cupcake caps, in my opinion) by using a tablespoon to measure out even amounts of batter onto a parchment-lined sheet, bake and let cool.


Then, mix up a batch of your favorite frosting.  I love cream cheese frosting with pumpkin cake or bread, but there are no rules when it comes to whoopie pies!  Use whatever you like and whatever will pair nicely with your cookie flavor.  Pipe (or spread) onto half of your cookies.


Top your frosted whoopies with the unfrosted whoopies, then my sweets, you've got dessert!


 Enjoy!  Stay tuned for the next Holiday Round-Up dessert, classic Chocolate Pecan Pie!

Sunday, December 18, 2011

Holiday Dessert Round-Up: Double Chocolate Peppermint Swirl Cupcakes

Well readers, tis the season to BAKE!  Over the next week I will feature a number of holiday desserts that definitely deserve a place on the family dinner table.  All include seasonal flavors and are worth the effort they take to bake!  Some are quick and easy, some, like today's cupcakes, take a bit more time.  Life is sweet, and during this time of year, putting a little extra love into dessert never hurt anyone, so enjoy, sweets!!


Today's featured dessert is Double-Chocolate Peppermint Swirl Cupcakes!  I found these on Pinterest (where else) and decided to bake them up for my office holiday party tomorrow.   Imagine this - super rich, moist dark chocolate cake, filled with white chocolate ganache speckled with bits of candy cane, and topped with deliciously light and airy peppermint buttercream.  Heaven.  Yes, I know!


As I mentioned, these do take a bit of time.  I baked my cupcakes first thing in the morning, let them cool a few hours and then made the ganache which also had to cool before filling the cuppies.  Frosting came last and was well worth the wait.


I followed the recipe by Fields Of Cake exactly, so I will direct you there if you would like to try these out.  If so, here are a few notes that might help you along the way.

First - the cake batter is very liquidy.  I poured mine into a liquid measuring cup and distributed that way, much easier and less messy than a spoon.  I filled my cups about 3/4 up - they baked up into pretty tall domes.  I'd suggest filling half way for a shorter or flatter-topped cupcake.


Next, for the white chocolate ganache, after it was mostly cool and well mixed, I switched my mixer attachment from the paddle to the whisk to add more volume and lighten it up a bit.  I highly suggest this! I had lots of leftovers and plenty for tasting, plus it just made a nice light creamy filling.


Finally, my buttercream tasted too salty after following the recipe exactly.  I used about 1.5 cups of confectioner's sugar before it tasted right to me.

Again, if you'd like to give these a try (and I highly suggest you do- they are amazing!) check out Fields of Cake.  And that's that!  Check back soon for the next holiday dessert; pumpkin whoopie pies!


Monday, December 12, 2011

White Chocolate Cherry Shorbread Cookies

When I think Christmas cookies, I think of pretty, festive, and most importantly, delicious bite-sized treats-- and that's just what these little pink cookies are!


I recently took place in the first annual Great Food Blogger Cookie Swap, where food bloggers bake and send a dozen cookies out to three bloggers, and in return, you receive a dozen cookies from three other bloggers.  Needless to say, my husband thinks this is the greatest blogging project I've ever participated in!  I loved it for the fun of receiving three packages of treats, and finding six new food blogs to read!


Choosing which cookie to make was not as easy as I thought it would be.  I'm inspired daily by others' creations that I see on Pinterest, and I changed my mind four or five times before deciding on these, but in the end I think I picked the right cookie!  They're small, chewy, cheery pink and cherry-flavored with festive white chocolate and red sprinkles.  I sent off three pink cookies jars full off to Stephanie at Okie Dokie Artichokie, Erin at The Spiffy Cookie, and Allison at Allison Eats.


In return, I received almond crescent cookies from Return to Sunday Supper, Snickers Surprise cookies from Lindsay at The Little Foodie and gluten-free Chai Snickerdoodles from Catherine at Munchie Musings.  They were all delicious- and I thank you all so much for your generosity, and beautiful packaging!!!

For anyone who thinks these shortbread cookies have a place on your holiday table, the recipe is fairly easy, though time-consuming if you make lots of little cookies like I did.  For a quicker turnaround, I'd suggest making fewer, bigger sized cookies.


And for any fellow food bloggers who missed out on the swap this year, you can sign up here to get notifications for next year's swap!

Happy Holidays!


White Chocolate Cherry Shortbread Cookies
Adapted from Better Homes & Gardens

Need:

  • 1/2 Cup Maraschino cherries 
  • 2-4 tbsp. of juice from the cherry jar
  • 2 1/2 cups flour
  • 1/2 cup sugar
  • 2 sticks cold butter
  • 1 package of white chocolate chips - chopped in processor or by hand
  • 1/2 tsp. almond extract
  • 2 tsp. shortening
  • Red sprinkles (or any kind of sprinkle you'd like)
Do:

  • Preheat oven to 325 degrees.
  • Chop the cherries (stems removed) in a food processor as finely as possible; you can also chop them by hand but I love the speed and ease of the processor.  Pour the cherries and their juice (add 2-4 extra tablespoons of juice from the jar to the bowl as well- use two for color, four for color and flavor.)
  • Mix the flour and sugar in a large bowl, and then using a pastry cutter or two knives, cut in the butter until it is combined into a crumbly mixture.  I WRECKED my pastry cutter doing this- my butter may have been too cold- just a heads up to be careful!
  • Stir in cherries, cherry juice, 2/3 cup of white chocolate bits, and almond extract.  Knead all ingredients together and form a nice smooth doughy ball.
  • Shape dough into 3/4 inch balls (if you want to make LOTS!) or 1 - 1.5 inch balls for bigger cookies.
  • Place each ball 2 inches apart on an ungreased cookie sheet.  Take a water glass, dip the bottom in water and then into sugar to coat it.  Smush the balls of dough into thin discs with the sugar-coated cup. 
  • Bake for 10-12 minutes, cool 1 minute on the cookie sheet and then move to wire racks to cool completely.
  • When all the cookies are cooled, mix the rest of the white chocolate with the shortening in a small saucepan.  Stir over low heat until melted and combined.
  • Dip half of each cookies into the chocolate and let the extra drip off, or scrape it off with a spatula or spoon.  While the white chocolate is still wet, roll the edge through the sprinkles to decorate. 

Saturday, November 26, 2011

Raspberry Margarita Rosette Cake

Happy Saturday, Sweets!  I hope everyone had a very happy Thanksgiving!

In honor of National Cake Day, I wanted to share one of my latest cakes with you.  I was inspired by someone else's cake I found on Pinterest, covered in buttercream rosettes, and decided to recreate the masterpiece for myself with leftover raspberry frosting from my Baby Shower Cupcakes.

I had two frozen lime margarita cakes (I had baked these with batter leftover from my mini margarita cupcakes) that paired perfectly with the buttercream to make a Raspberry Margarita cake- YUM!


So how does one achieve such a pretty floral look?  All it takes is one of my favorite icing tips- the Wilton 1M. (You can buy it here or check your local craft store's cake section).


I didn't take enough pictures to give you a full tutorial, but if you are interested in learning how to do this let me know and I will put a step-by-step post together.  It is actually quite easy to take your cake from this...


To this...!


Happy Cake Day, Sweets!

Monday, November 21, 2011

NYC Trip - Molly's Cupcakes!

Happy Monday everyone!  I am home enjoying a day off from work after the hubs and I had an awesome weekend in NYC.  We stayed with my sorority sister and her fiance in Washington Heights and had a blast watching the Bruins play (and WIN!) in Long Island, brunching in Soho, wandering around Union Square, and cupcake hunting in Greenwich Village!!

We stopped into Molly's Cupcakes on Bleecker Street- you may recognize the name as this shop was the WINNER on Food Network's Cupcake Wars!  What a cool shop.  The variety of cupcakes was impressive - these were unique and fun flavor combinations - there was definitely something for everyone.  I loved the artsy flavor labels!


If for some reason the flavors in the case aren't cutting it, Molly's lets you create your own, too!


A big seller for this cupcake shop is that it's not a teeny tiny storefront with a counter and a register; it's a nice sized cafe with plenty of room to sit, stay, eat, and play.  And by play, I really mean play!  There's a huge case of games that you can break into while enjoying your cupcakes with friends.  If Apples to Apple's isn't your thing, you can still get your 'play' on by enjoying your cupcake on one of the swing benches!

Our fabulous hosts, Amy & Zach, and friend Evan!
Swingy benches- so cool!
We had come here straight from brunch at the Corner Shop Cafe (MUST go--- adorable space and really delicious brunch food like truffled eggs or creme brulee french toast!) so Jake and I considered sharing a cupcake...until we saw the flavors.  After taking one glance at the offerings that "sharing" idea was out the window, hah!  Here's what we tried.


Jake - Cookie Dough (I really need to make these at home, maybe today!)

Amy - Pumpkin Spice

Me - Caramel Butterscotch - PERFECT cake & filling but salted caramel buttercream was way too salty for me

Zach - Cake Batter (oh man that looked good!!)

Evan - Peanut Butter Nutella - he said there was tons of gooey Nutella - YUM!
So needless to say, our cupcake hunt was a great success.  Have you been to Molly's?  What did you think? What other cupcake shops do you love in NYC?  I'll be back in a few weeks looking for another great one to try, so let me know what you think!


Sunday, November 13, 2011

Baby Shower Cupcakes


This weekend I had the pleasure of baking up 48 cupcakes for a baby shower!  Did anyone follow my live tweet as I worked on them?  It was a fun project, with one little whoopsy near the end (I dropped my bowl of flour/baking soda mix on the floor.  The bowl shattered into a million pieces and I had no idea how much flour I lost, so I had to eyeball it.  Scary!)  In the end, the cupcakes turned out great!


The order was for 24 chocolate and 24 vanilla cupcakes, all topped with raspberry frosting.  I was so excited for this order because I never tend to bake up the classics, so this was a great opportunity to do it.   I did some research and chose three recipes to follow..links and notes are at the bottom of this post.

Carol, thank you for the order and I hope today's baby shower is filled with love and fun!!!


For the vanilla cupcakes, I followed the Cupcake Project's Ultimate Vanilla Cupcake recipe.  I love this recipe and am keeping it as one of my go-to's.  The batter is super easy to put together.  I was a little nervous that the batter was so liquidy, but it baked up fine.  I had a little issue with crazy tops at first:


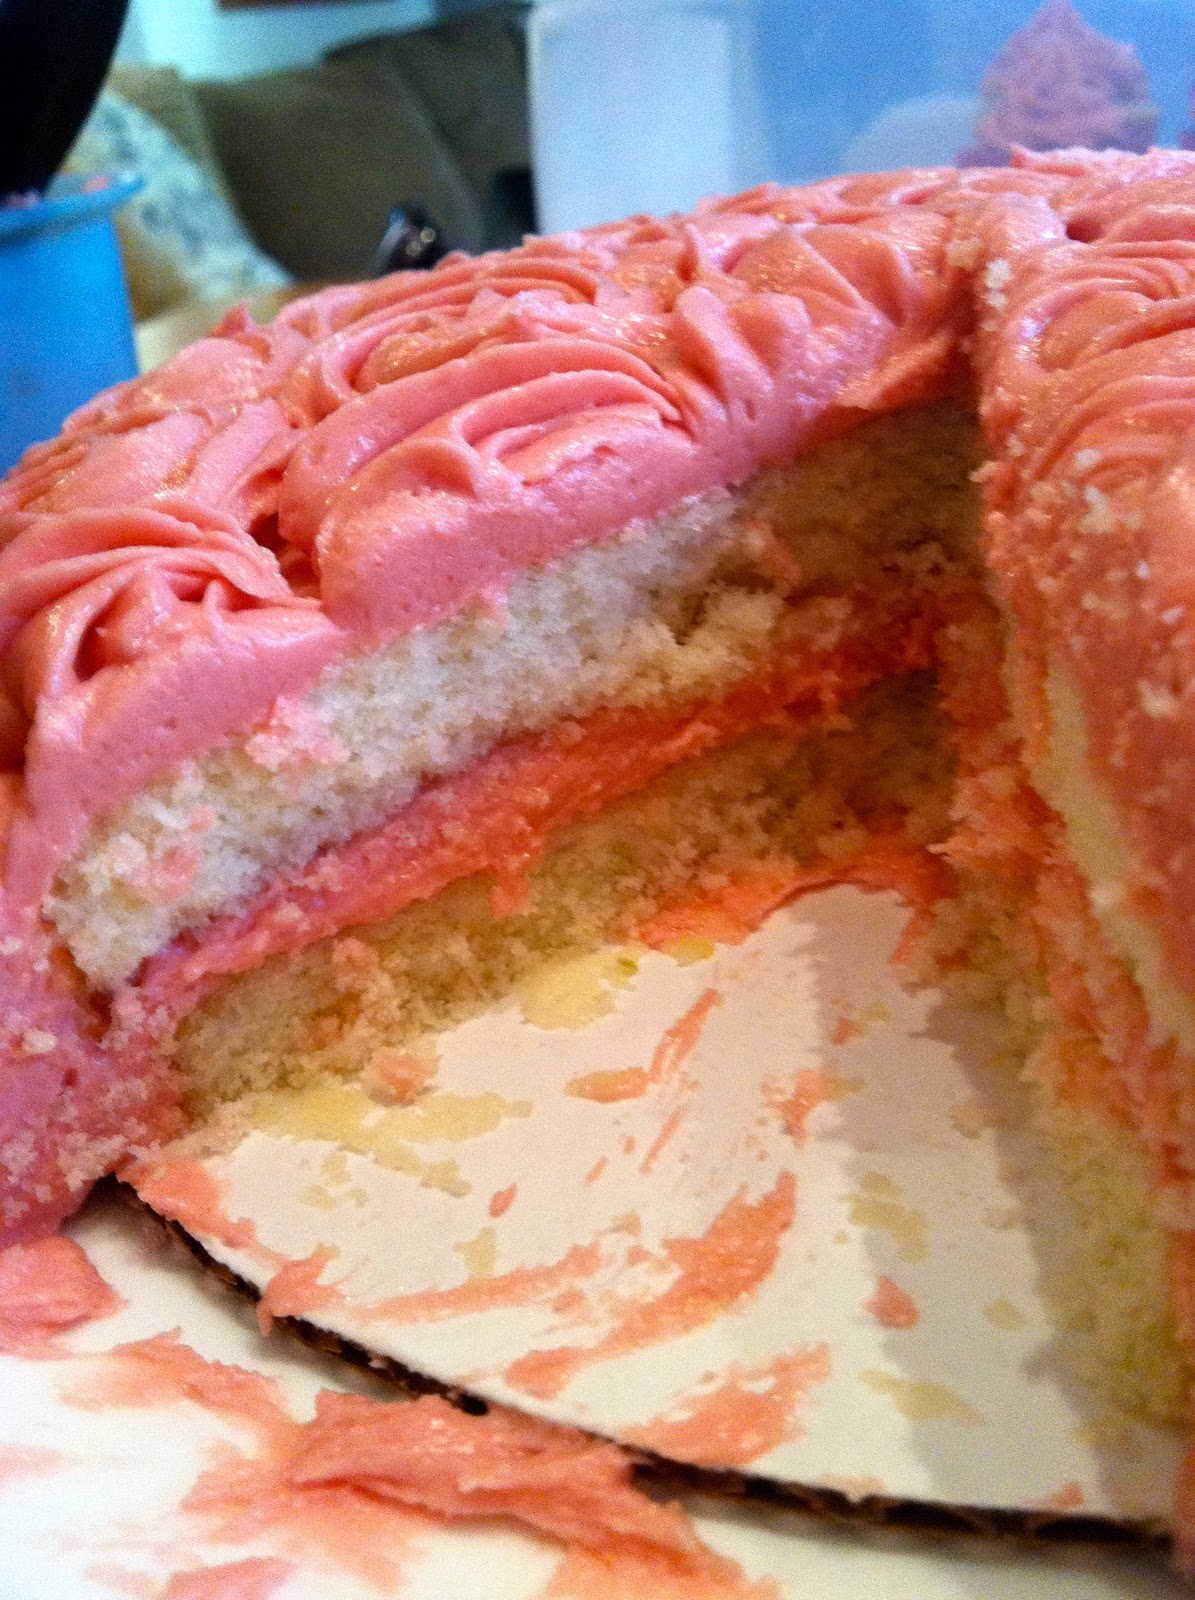
but when I filled the cupcake liners a little less and more evenly on the 2nd batch, they were perfect.  This cake is super light, nice and moist, and a strong, delicious vanilla flavor.  LOVE this recipe.

For the chocolate cupcakes, I followed the Magnolia Bakery recipe.  This recipe took a bit longer to make, mostly because you have to melt the chocolate and then wait for it to cool down a bit.  The nice thing about this recipe is that it made enough batter for 2 dozen cupcakes...I ended up getting 30 cupcakes from it.  The batter on this one was to die for.  My husband likes to "taste test" all of my batters, and he thought this one was frosting, not cake batter.  It is thick, moussy, delish.  The finished cake is much denser than the vanilla one, just as intense in flavor.  They baked up perfectly even, probably because I used a cookie scoop and made sure to put the exact same amount of batter in each cup.  LOVE love love this recipe.


Now for the frosting, I found a recipe for raspberry cream cheese frosting and tweaked it a little bit.  The original recipe called for adding a little liquor for taste and that just didn't seem right to do for a baby shower.  Here's the end recipe that I used.  It's sweet (but not TOO sweet!) and has a very intense raspberry flavor.  I know I've used that adjective a few times already-- I'm telling you, these cupcakes are so, SO flavorful.

Raspberry Cream Cheese Frosting:
Need:
-1 8oz pack of cream cheese - room temp
-1 stick of unsalted butter - room temp
-1/2 a stick of shortening (4 oz) - room temp
-1/4 cup of seedless raspberry jam
-1 1/2 tablespoons of raspberry flavored jello powder
-2 lbs powdered sugar

Do:
1.  Beat cream cheese, butter and shortening together until light and fluffy.
2.  Add raspberry jam and 1 tablespoon of jello powder, beat to combine.
3.  Add powdered sugar in 4 parts.  Add in the remaining 1/2 tablespoon of jello powder with your third part of sugar.

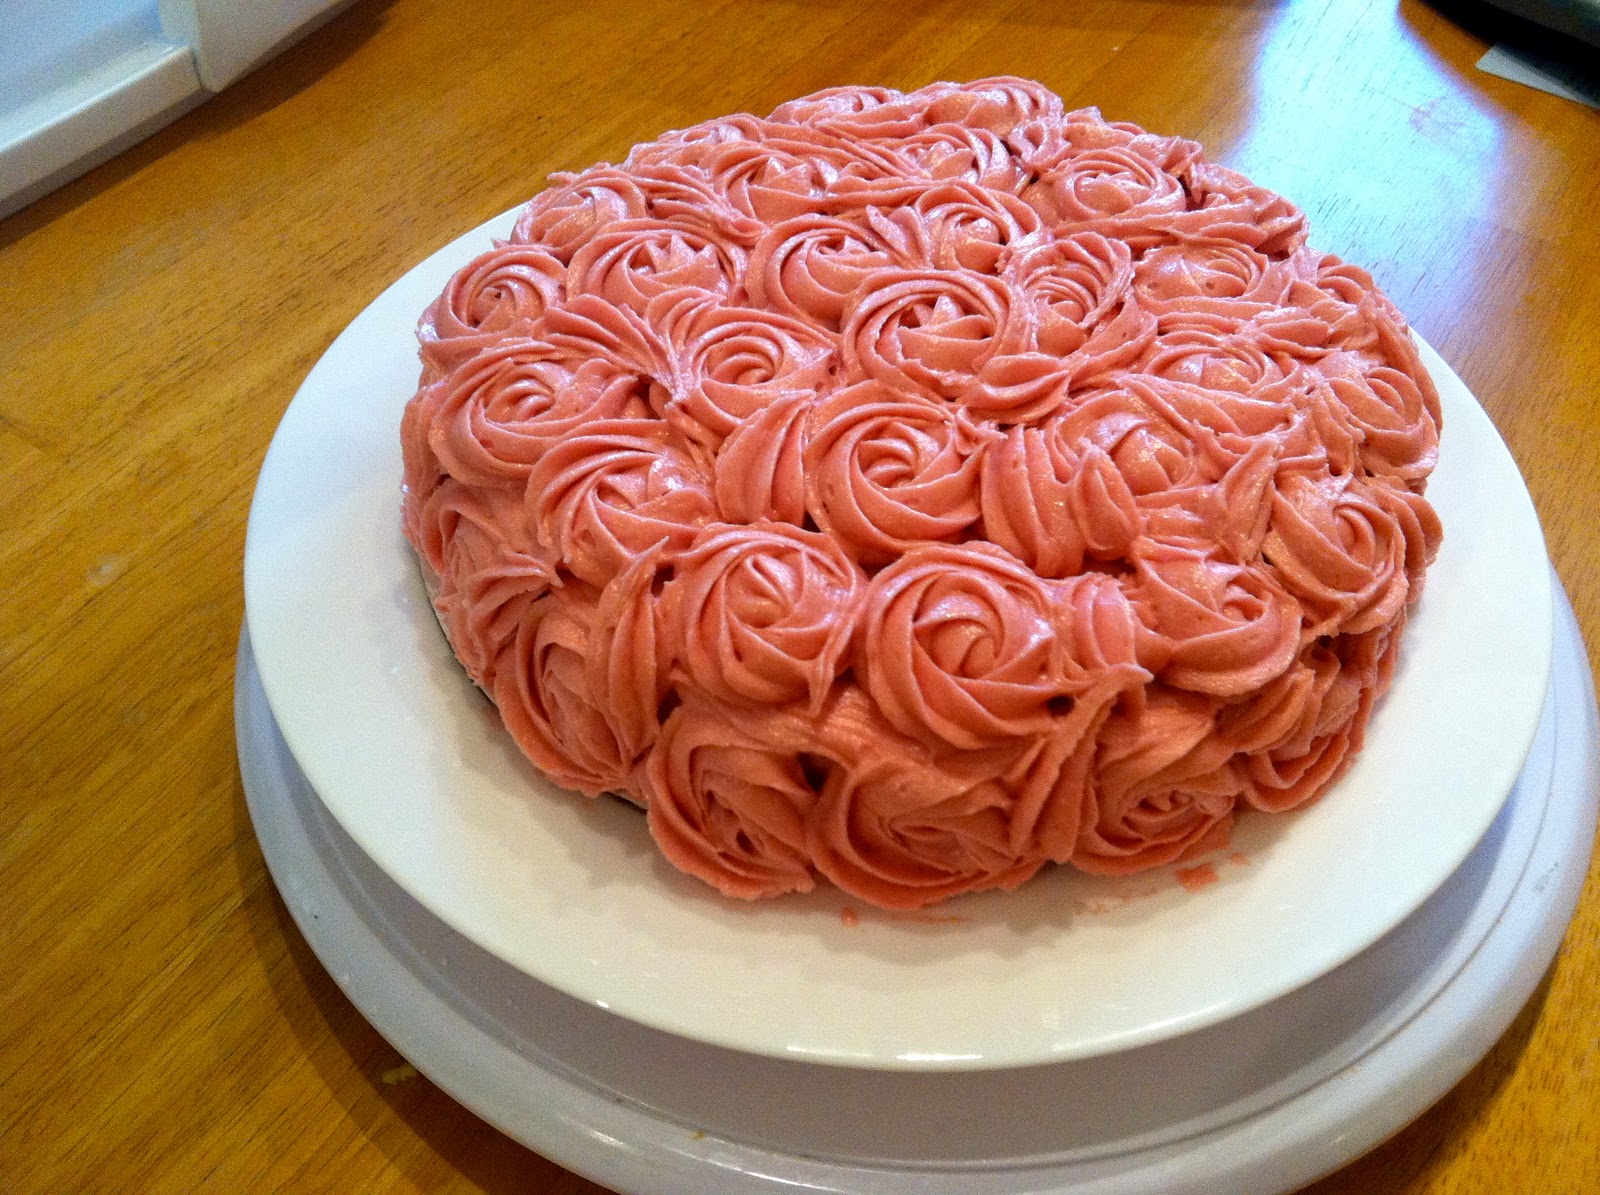
Note- using the full 2 lbs of sugar will give you a nice thick frosting that is good for acheiving a firm design when decorating like in my pictures above.  You can certainly add less for a more creamy frosting, or even a glaze if you'd like.

Enjoy!

Friday, November 11, 2011

Live Tweeting - Cupcake Mania!

Hello trusty readers- BostonSweetie is BACK!

I am spending my Friday night in, baking up four dozen cupcakes for a baby shower tomorrow.  I've been tasked with 24 vanilla and 24 chocolate cupcakes, all topped with raspberry frosting.

Follow me on Twitter as I go step by step through this process - @BostonSweetie.

Check back early next week for a picturey post, and have a great weekend!


Saturday, October 29, 2011

My To-Bake List

Is anyone else as addicted to Pinterest as I am?  Talk about inspiration!  To pass on the love, I'm sharing the beautiful photos and ideas that make up my current "To-Bake" list.  Let me know if you've made any of these items, and how they came out!

Pinned Image
Inside-out carrot cake cupcakes

Pinned Image
Pumpkin Gingerbread Trifle

Pinned Image


Pinned Image

Thursday, October 27, 2011

Chicago-bound!

I am SO excited because tonight, hubby and I are on our way to Chicago for the weekend!  It is my first time visiting the Windy City, and I. Am. Pumped!

Picture from http://bitter-lemons.com

Please leave me any and all of your recommendations for must-go places- I'm looking for good food, good shopping, and great photo-ops!  We want to see everything we can while we're in town for the weekend.  I promise to bring back some sweet reviews next week...I've been reading up on Chicago cupcakeries, can't wait!!

Wednesday, October 26, 2011

Everything Fall Cupcakes!


Fall is in full swing here in New England and what better way to celebrate crisp days, pretty leaves, and cozy nights than with cupcakes?!  This year I was in the mood for something a little different than my typical pumpkin spice cupcake, so I turned one of my favorite blogs, Cupcakes Take the Cake, for a little inspiration and found the holy grail of cupcake creativity; The Cupcake Project!

If you love cupcakes, you need to check out this site.  The writer posts so many creative flavors and combinations; it's awesome!

Today's cupcake is one straight from the Cupcake Project blog- I didn't change anything, though I did leave the cranberries off the top.  Since I didn't modify this recipe at all, feel free to check out the original here!

For now, here's the low-down...first you make a batch of mini apple cobbler cupcakes and top them with some brown sugar glazey icing that is just like the icing on a donut. Ho-ly-mo-ly good luck to you saving enough to complete this project.  The fact that they are mini and moist and addictive makes this a hard task, so I suggest hiding them until they're cool and ready to be frozen.  Seriously!


Next you make your big-cupcake batter; pumpkin with real maple syrup and rum.  This is one of those batters where you freak out because it looks curdled and nasty at first, but don't worry, it comes together beautifully and ends up looking and smelling like a delicate pumpkin mousse.

Bake the pumpkin batter with a frozen mini (wrapper removed) in the center and you have your cupcake.  The last step is whipping up an easy batch of cinnamon cream cheese icing and topping your cuppies with love, and voi-la.  You have the best fall dessert you've ever made.


These fall cupcakes SO good, and you can easily taste all of the flavors...except for the rum.  I used Captain Morgan's Spiced Rum (my favorite dark rum) and I think it was just overpowered by the maple and pumpkin.


This project does take some serious prep time; you have to freeze the mini cupcakes overnight.  This was a 2-day baking project for me, but it was a lot of fun and the taste makes it worth every minute.  Check out the Cupcake Project's original recipe here, and enjoy!!