
As Thursday quickly approaches, I wanted to share a treat for two that I tried out this weekend. Mini-cake recipes are hard to come by, but perfect for Valentines Day when you and your sweetie want to share a little post-dinner bite.

 |
| Tastie! Strawberry cake, strawberry cream filling, cream cheese meringue frosting...yup, this combo works! |
If you make one of these mini-cakes this week, tell me about it in the comments below!

Mini Strawberry Cake with Cream Cheese Meringue Buttercream
Need:
- 12 - 14 very ripe strawberries
- 1/8 cup milk (I used almond milk) at room temperature
- 3 large egg whites at room temperature
- 1/2 Tbsp vanilla extract
- 1 1/8 cup flour
- 3/4 cup plus 1/8 cup sugar
- 2 tsp baking powder
- 1/2 tsp salt
- 6 Tbsp unsalted butter (1½ sticks), softened (not melted)
- Red food coloring (optional)
Do:
- Trim all the strawberries, slice and toss with a teaspoon of sugar, cover and let them sit at room temperature for an hour or two.
- Place strawberries in a food processor and puree.
- Put a little bit more than 1/3 cup of the strawberry puree aside; this will flavor the cake. The rest can be used for filling or another project.
- Preheat oven to 350 degrees and spray an 8' x 8' square pyrex dish with cooking spray.
- In small bowl, combine puree, milk, egg, vanilla and mix well until blended.
- In the bowl of your stand mixer, add flour, sugar, baking powder and salt and mix to combine. Don't forget the sugar! I did, and didn't realize it until I was just about to pour the batter into the dish!
- Keep beating at slow speed and add the butter. Mix until combined and the batter resembles crumbs.
- Now, pour in the liquids and beat at medium speed for about 1 minute or until fully blended.
- Scrape down the sides of the bowl, give the bottom a good scoop, and if you'd like, add a few drops of food coloring to get a pretty red or pink color.
- Pour the batter into the pyrex dish and even out the top. Bake for 30-35 minutes or until until a toothpick inserted in the center comes out clean. Keep an eye on it, I checked it after 25 minutes, and I *think* I gave it another 10...but you should just watch it after 30 to be safe.
- Let the cake cool completely in the dish.
- Once cool, cut your cake into 4 equal parts.
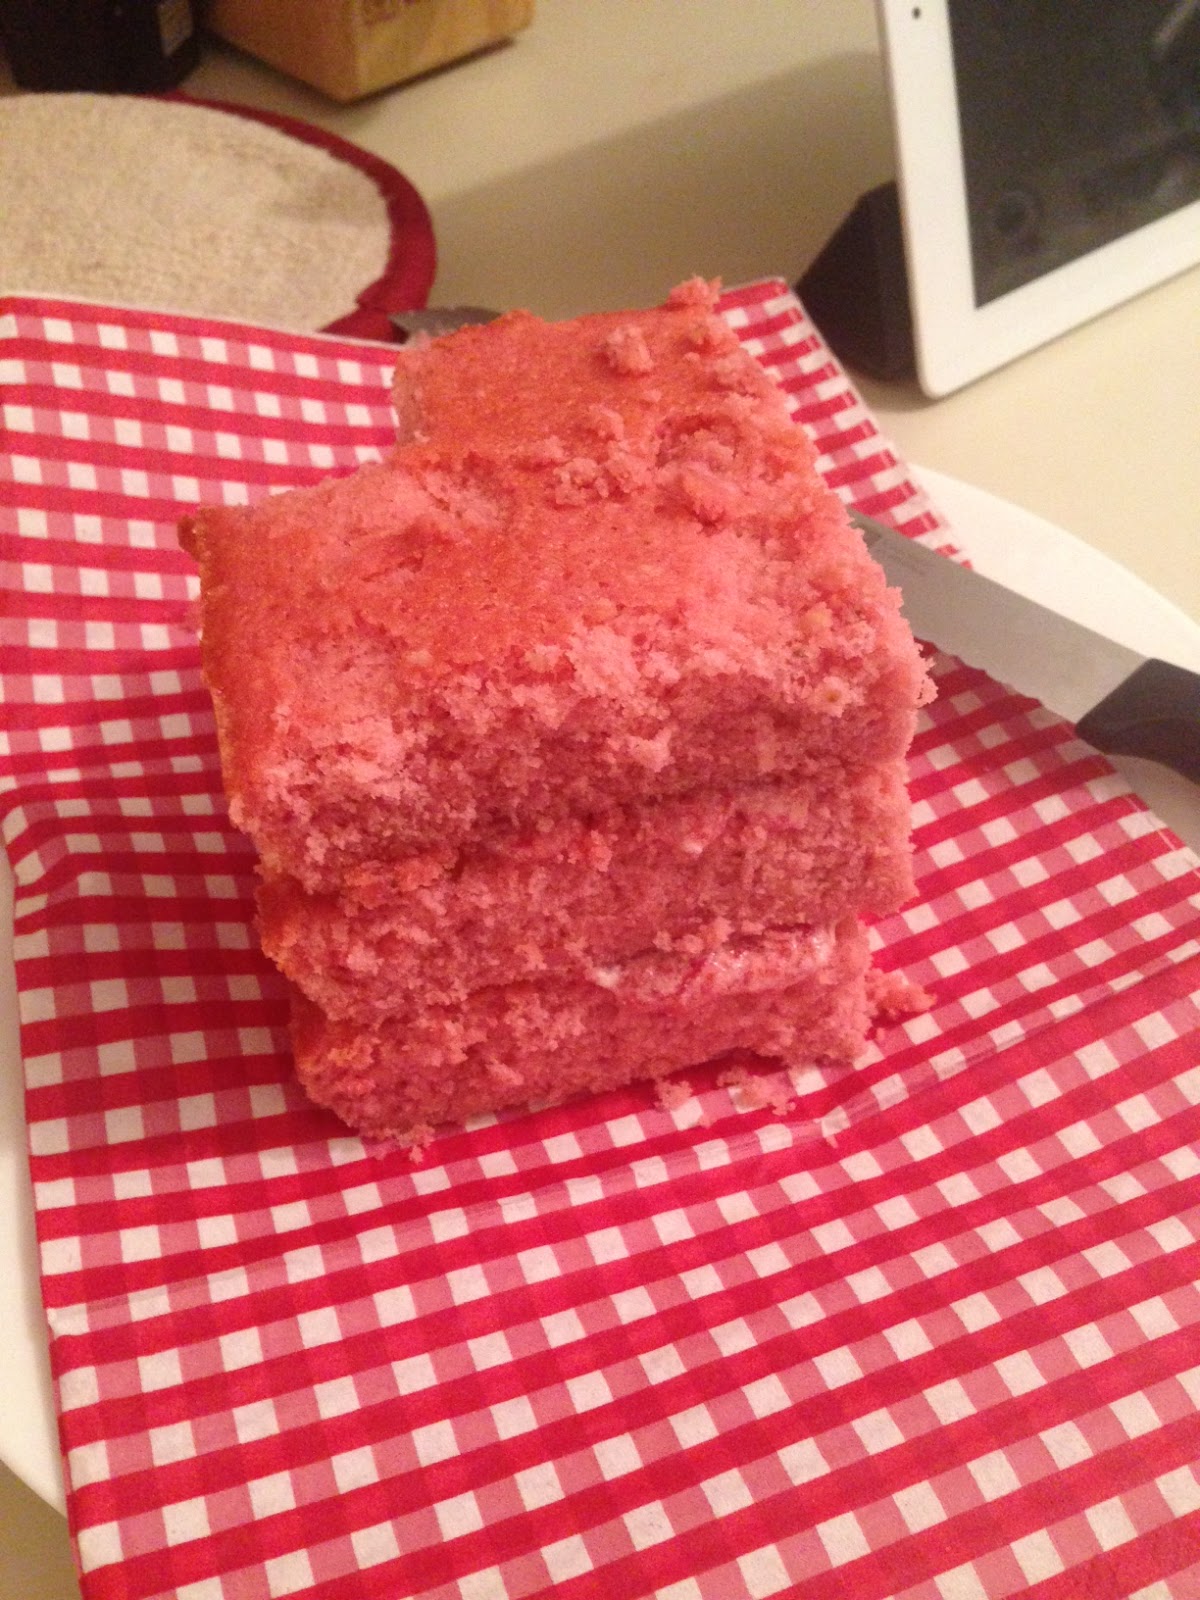
- Gently remove one part from the pan, top with a little filling (I mixed two heaping spoonfuls of frosting with my leftover strawberry puree) and stack up your other square pieces in the same way. For my mini cake, I used three layers, and kept the 4th square as a giant tastie :)
- Once you have your layers filled and stacked, take out a bread knife and channel your inner cake boss. Gently cut out a triangle from one of the corners to create a heart shape, like so (picture below).
- Frost and enjoy!
 |
| Square cake cut into 4's |
 |
| Three stacked layers with triangle cut out to form a heart shape |
For the frosting, grab the recipe from Oven Love Blog; I followed it exactly to have some leftover frosting. As I mentioned, I had some trouble getting this to come together the way I think it was supposed to, but the taste with the cake is fabulous and very much worth it!
This is adorable!
ReplyDelete