Saturday, May 14, 2011

Bridal Shower Cake - Stephanie & Dennis


Today I had the honor of putting together a three tier bridal shower cake!  It has been a while since I decorated a cake, so I was beyond excited to take on this project when one of my girlfriends asked me for the favor.

The most important thing about any fancy cake is making sure that it tastes good!  My friend gave me full creative license with flavors, so I went with a springy combo of pink champagne cake, strawberry filling, and almond icing.

Putting together a nice tiered cake takes a little leg work but it's well worth it.  I learned all my tricks from the Wilton Cake Decorating courses I took at Michael's.  My instructor, Maxine, was amazing, and a little fireball.  Her recipe for flawless decorator's icing listed at the end of this post is my go-to recipe for cakes that need to last a couple days and have decorations that hold up.

Are you thinking of trying out a tiered cake?  Here's a few tips as you work through it.  First, you want to make sure all of your cakes are level.  Wilton sells a leveling tool, but I just eyeball it and use a bread knife.


Once they're leveled, pipe a border of icing around the edge of the cake, called a "dam."  This will prevent your filling from oozing out the edges.  Let the dam set for a few minutes (put it in the fridge to speed this part up if you'd like), and then add your filling.  


Once your bottom layer is filled, gently place on the top layer.  Make sure the flattest side is up.


Next, you want to "crumb coat" all of your tiers.  This means putting a thin layer of your buttercream on to trap any crumbs that may come off into the icing.  All of your cakes should be on cake boards the same size as the cake.  You can buy pre-cut ones at most craft stores, or cut your own out of old cardboard boxes and cover them with foil to make them look nice.  Make sure your crumb coat is nice and smooth, and let this set for at least 30 minutes.  I like to let mine set in the fridge, as it's much easier to work with cold, stiff cakes than warm, soft ones.

While you're waiting, I highly recommend trying a tastie- we ate cake scraps topped with filling and icing to make sure everything paired well.   After 3 or 4 tasties each, hubs and I agreed that this cake was going to be a hit.


After your crumb coat has set, it's time to create some support in your cakes.  Depending on how big and heavy your cake is, you can use different types of support.  I used plastic smoothie straws.  Stick a straw in the cake (put it in a place that will definitely be covered by the next tier!) and pull it out.  Trim your support and use that first one to measure others for your layers.  I used 4 on the bottom layer and 2 for the middle layer.  You want to measure and trim your supports, FULLY FROST your cake, and then put your supports in last.


Decorator's tip - see the pretty design on my cake?  I achieved that look by gently pressing a paper towel onto the top!  This is a nice touch when frosting with buttercream instead of fondant.  Some people use a small foam roller to smooth out their icing.   You can buy these for less than a dollar at any hardware store.

So now your cakes are frosted and supported, it's time to stack them!  Very gently, place your middle tier ontop of the bottom, and then place the top tier on the middle.  Depending on the size of your cake, tie all three layers together by putting a sharp support straight down through the middle.  This cake was rather small and compact so I didn't include that here.  Now's the fun part, decorating time!!


I used white and yellow buttercream and a spool of ribbon to decorate this cake.  Pressing the ribbon into the icing while it is just barely still tacky will make it stick yet still be easy to remove without pulling off all the icing.


And, voila!  Three tiered wedding cake!  Best wishes to Stephanie and Dennis as your wedding approaches - enjoy every minute! 


Maxine's Decorating Icing:


Note - S= small batch,  M= medium batch, L= Large batch


Need: 


Shortening - S, 1 cup.  M, 2 cups.  L, 4 cups.
Milk - S, 1/4 cup.  M, 1/2 cup.  L, 1 cup.
Confectioner's Sugar - S, 1 pound (4 c).  M, 2 pounds (8 c).  L, 4 pounds (16 c.)
Flavoring - S, 1tsp.  M, 1 1/2 tsp.  L, 2 tsp.

*I made a medium batch for this cake and had some leftover.

Do:
- Soften shortening by stirring it in the mixing bowl for about 2 min.
-Add confectioner's sugar in 3 - 4 batches.  After each batch, add part of your milk, and part of your flavoring
-Continue whipping until desired consistency and flavor.  Add more sugar to stiffen, more milk/flavoring to soften.

Wednesday, May 11, 2011

Kappa Tuesday: Simply Sweet & a Teaser

I love girls nights. Really, there are few things better than eating good food, drinking good wine, and savoring delicious dessert over uninhibited girl talk with your besties. Last night's Kappa Tuesday was epic. We went through more wine than usual, hung out longer than usual, and laughed as much as we always laugh. Perfection.


You know what else was perfect? Lindsay's dessert last night. She brought over chocolate frozen yogurt and fresh, mixed berries. So simple, and SO good, so satisfying and perfect for a girls night.


I think what made this dessert was the high quality ingredients. I'd never tried Stonyfield fro-yo before last night, and I was so impressed with how creamy, rich and ultra-chocolatey it was. There was none of that yogurt tang at all; it tasted just like full-fat ice cream. I eat fro-yo all the time, and this may be a new favorite. Also the berries Linds picked up were fresh and ripe, especially the blackberries. YUM.


After we'd polished off our official dessert, the wine was still flowing and we still had plenty of room for more sweets which leads me to my teaser....


Do you know what this is??? I'll give you a few hints, but not too many because I will have a really fun blog post on this coming up this weekend!

-This is a plate full of cake scraps (unofficial tasties!)
-The cake is pink (hopefully you can tell that)
-It's for a celebration
-Do you like champagne?
-Remember how I told you I love cake decorating?
-Super fun project ahead!!

Check back this weekend, and until then, remember, Life is Sweet!


Monday, May 9, 2011

D'Amici's in Melrose

There's a brand new bakery on Main Street in Melrose, and my hubby took me to check it out tonight!  I love that man.  We'd actually tried some of their Italian almond macaroon cookies at a friend's house last week - SO GOOD - so were very excited to get in the bakery and try a few other things.  I checked out their website recently and saw that they are famous for fancy wedding cakes (I really love cake decorating!) so I've been looking forward to getting into the new store.


While there was a HUGE a display case full of tempting items, we only chose three to take home.  J chose his favorite bakery treat - a lobster tail.


Lobster Tail: Hubs gives it a C, I give it a D.  The cream filling was REALLY good, but the pastry was stale!!!  It was such a disappointment.  (I don't know why he smushed it on the plate like that, but it makes for a good picture anyway!)  I do want to call out that despite the stale pastry, it was hard to stop eating this because the cream filling was so, so good.

I chose my favorite Italian treat - a chocolate-dipped cannoli:


I gave the cannoli a B.  Hubs didn't try it because he was full of lobster tail by the time I got into mine.  The shell was crisp, chocolate dip tasted great, but the disappointment here was that they were out of ricotta filling!  Whaaaaaaaaaat.  Cannoli's just aren't the same without the ricotta filling.  I chose vanilla cream instead, but it looked icky and didn't taste like a classic cannoli. The display of cannoli shells ontop of the counter looks nice...but I have to admit I'm a little skeeved out that they are just sitting open on a counter.  Maybe it's all my rides on the T every day, but all I could think about as the girl grabbed my shell off the shelf was gross customers coughing, breathing, sneezing on them, touching them, oohing and aahing over them with their noses touching, ick.  I ordered one anyway, so maybe it didn't bother me that much.


The third thing we chose was two chocolate champagne cookies.  We ate these in the car, so I didn't get any pictures.  They were pretty cookies but sadly hubs and I align on giving those a D.  They had a nice, crunchy texture but literally no taste.  We didn't taste champagne, we didn't taste chocolate, we don't really think we tasted anything, just crunchy air.

The last disappointing element to our visit was the service.  When a person asks me "how can I help you" without making it sound like a question, and with a really sour pout on their face, it really doesn't put me in the mood to spend money.  The place is brand new.  I was expecting employees excited about the business, ready to really sell their baked goods, explain what everything is, point out popular items, etc.  I don't think we got eye contact, nevermind a product suggestion.

Needless to say, our trip to D'Amici's was a bit disappointing for a first try, but hubs and I agreed we want to go back and try again.  I think on a weekend, the selection may be more fresh since I'm certain they'd move a lot more product.  We also want to try their sandwiches, and next time I'm definitely getting some sort of cake.  Their mousse cakes and cupcakes were so pretty!


Let me know if you've been to D'Amici's and had a better experience...I'm not losing hope yet!

Sunday, May 8, 2011

PERFECT Chocolate Chip Cookies

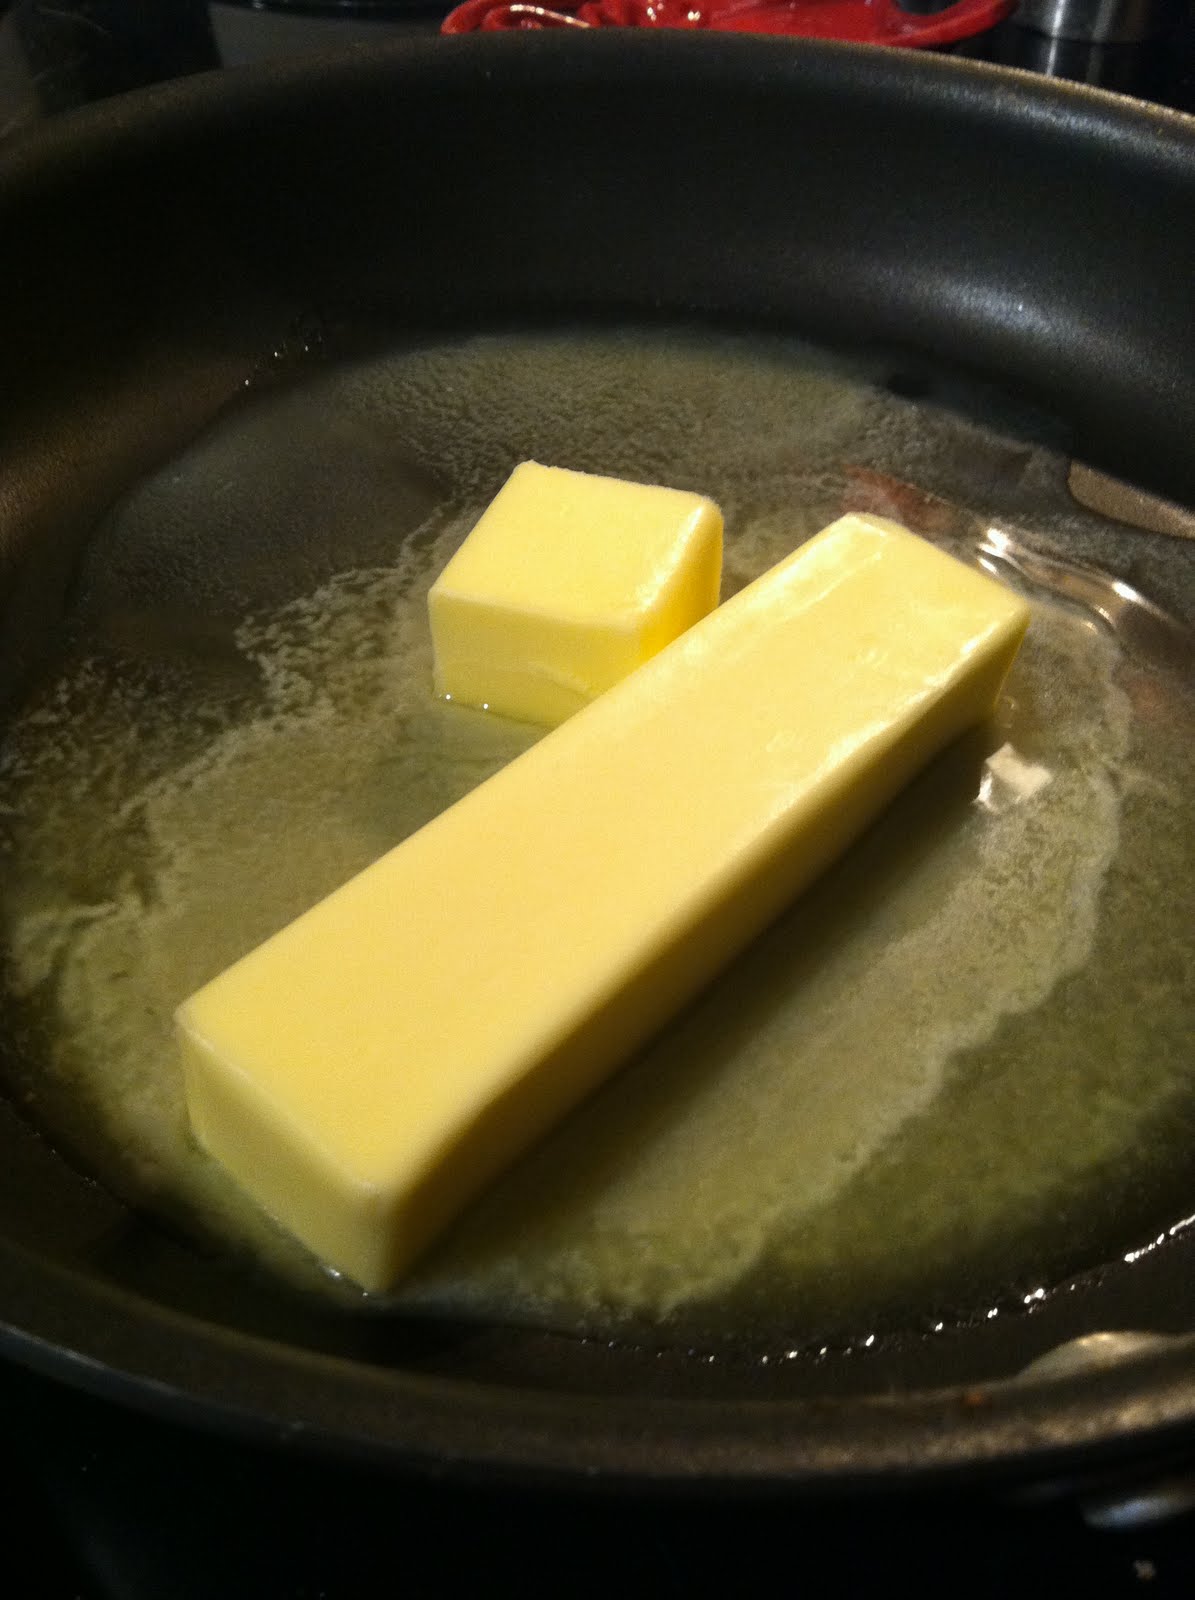
It's true. This is not opinion, it's actual fact...IT is the perfect chocolate chip cookie, thanks to the phenominal foodies at America's Test Kitchen & Cooks Illustrated. I'm talking perfect in every way. The recipe is fairly easy, very fun (who doesn't like browning butter? I love when baking involves a skillet) and the result is a cookie that will bring you to a VERY happy place.


These cookies come out uniform in size, crispy-edged and chewy-gooey-centered. The recipe says to wait until they are cooled to enjoy. I say you'd be remiss to NOT break apart one of these fresh out of the oven and try them while they're hot (note: I take no responsibility for burnt mouths.)

The one problem with this cookie is that it is TOO good. I behaved myself all day- got all my fruits and veggies in, did a workout, made a healthy dinner and ate small, beach-friendly portions and then I started baking. And then my health status for the day flew out the window. I kept picking at the batter, and then I kept nibbling on more cookies as I waited for the batches to bake. Having the world's worst sweet tooth, I'm used to picking a little bit during any baking project. This one was just out of control. I think it's the browned butter. That extra step seriously enhanced the flavor of these, putting them way above any generic chocolate chip cookie you could buy or basic recipe you could follow.

My husband agreed. He is a die-hard hockey fan, and the Bruins playoff game was mid-play, and he lost focus while taking his first bite, turned around to me with love filled eyes and said "These. Are. Legendary." and then went back to the game. My cookies distracted him from PLAYOFF HOCKEY. They are that good.


Have I convinced you yet? Here's the recipe to make 16 nice big cookies, courtesy of America's Test Kitchen / Cook's Illustrated, with a little Boston Sweetie commentary added in for fun. If you try these, let me know what you think! If you're a blogger and you bake these- make sure to take pics and enter the Cookie Challenge! Do you have a recipe that you think could rival this one? 


First, a few notes from Cook's Illustrated:

Avoid using a nonstick skillet to brown the butter; the dark color of the nonstick coating makes it difficult to gauge when the butter is browned. Use fresh, moist brown sugar instead of hardened brown sugar, which will make the cookies dry. This recipe works with light brown sugar, but the cookies will be less full-flavored.

Need:
  • 1 3/4 cups unbleached all-purpose flour
  • 1/2 teaspoon baking soda
  • 14 tablespoons unsalted butter (1 3/4 sticks)
  • 1/2 cup granulated sugar (3 1/2 ounces)
  • 3/4 cups packed dark brown sugar (5 1/4 ounces) (see note)
  • 1 teaspoon table salt
  • 2 teaspoons vanilla extract
  • 1 large egg
  • 1 large egg yolk
  • 1 1/4 cups semisweet chocolate chips or chunks


Do:

1. Adjust oven rack to middle position and heat oven to 375 degrees. Line 2 large (18- by 12- inch) baking sheets with parchment paper. Whisk flour and baking soda together in medium bowl; set aside.


2. Heat 10 tablespoons butter in 10-inch skillet over medium-high heat until melted, about 2 minutes. Continue cooking, swirling pan constantly until butter is dark golden brown and has nutty aroma, 1 to 3 minutes. Remove skillet from heat and, using heatproof spatula, transfer browned butter to large heatproof bowl. Stir remaining 4 tablespoons butter into hot butter until completely melted.


3. Add both sugars, salt, and vanilla to bowl with butter and whisk until fully incorporated. Add egg and yolk and whisk until mixture is smooth with no sugar lumps remaining, about 30 seconds. Let mixture stand 3 minutes, then whisk for 30 seconds. Repeat process of resting and whisking 2 more times until mixture is thick, smooth, and shiny.

**BOSTON SWEETIE NOTE: This is what happened when I didn't read the recipe carefully:

***Clearly, that is ugly and not right. Upon re-reading the recipe I realized I forgot the eggs. Don't forget the eggs! Adding eggs made a much nicer batter:


Using rubber spatula or wooden spoon, stir in flour mixture until just combined, about 1 minute. Stir in chocolate chips and nuts (if using), giving dough final stir to ensure no flour pockets remain.

4. Divide dough into 16 portions, each about 3 tablespoons (or use #24 cookie scoop). Arrange 2 inches apart on prepared baking sheets, 8 dough balls per sheet. (Smaller baking sheets can be used, but will require 3 batches.)

5. Bake cookies 1 tray at a time until cookies are golden brown and still puffy, and edges have begun to set but centers are still soft, 10 to 14 minutes, rotating baking sheet halfway through baking. Transfer baking sheet to wire rack; cool cookies completely before serving.


Wednesday, May 4, 2011

Pink Coconut Cupcakes - They could be YOURS!


It's time!  The Bloggers Bake for Hope online bake sale is live and open for bids until midnight on May 6.  I've donated the Frost Yourself cupcake kit, which includes the following:

-12 coconut cupcakes
-1 tub of pink coconut icing
-1 disposible piping bag
-1 star tip
-1 baggie of shredded coconut for decorating

A few notes about the auction:
-Minimum bid is $15.00
-I will ship anywhere in the United States (shipping is covered/donated by me)
-100% of the proceeds go to the MA Komen for a Cure organization for Breast Cancer research
-There are more sweets up for auction than just my cupcakes!  Check out the full list here.
-This cause is very near to my heart, if you're interested, you can read why here.

One last incentive - if you are the FIRST person to place a bid on my item, but don't end up winning, I will bake you a batch of French Macaroons - cookie & filling flavor choices are yours!  I'll also ship the french macaroons anywhere in the country.

Click here to bid on the Frost Yourself cupcake kit and show your support for breast cancer research and awareness!