Tuesday, September 20, 2011

Reunion Sheet Cake!


Well folks this cake wraps it up; wraps up the Cake for Every Pan challenge, that is.  Last week I worked on this three-layer half-sheet cake for my parents.  They had a reunion with about 25 of their buddies from the "good ol' days" (read: the '70's!) when they all worked together at Moe Black's hardware store in Waltham, MA.  

Mom gave very little direction on the cake flavors, she wanted it to taste good and for me to do "whatever's easiest."  Dad said he wanted the filling to have a "wow factor."  Easy yet wowwing.... I opted to go with three layers of french vanilla cake, filled with strawberry cream and frosted with almond buttercream.  Apparently a few people wanted the recipe for the strawberry cream filling, sorry guys, that one is a BostonSweetie secret!


The cake decoration was a bit more important to my mom.  She really wanted the store's logo on the cake, and all she had for me to go off of was a small, faded picture, scanned into Facebook and then printed on an old ink jet printer since I couldn't see the picture from my account.  I was having mini panic attacks about that part, as my artistry can sometimes be questionable, but it all worked out in the end.


I figured out a great method to get this done and make it look good!  Lucky for me, the font in the logo was almost identical to the font "Impact."  I typed out the logo in a size that would be appropriate for the cake, and then printed it out on regular old computer paper.  Next, I rolled out some white fondant, placed the printed sheet on top of the fondant, and traced around the letters with a ballpoint pen.  I had to be careful to not pierce the paper and yet still press hard enough to leave an impression on the fondant.  Once the tracing was done, I used edible Wilton markers to color the logo yellow and black.  These things are pretty cool, I bought a pack of bold-tip primary colors.  These are easy to use and very helpful for people like me who's drawing ability doesn't go past the crayons and markers of elementary school! Note...the result of these do look a lot like those crayons/markers of your youth.  You can see "lines," so color evenly!!  I bought mine at Michael's, but you can buy them online at Wilton.com too.


So cake and filling, check.  Logo, check.  I added a textured top to the cake, some yellow buttercream piping and a few 70's inspired fondant flowers, and bam, the end result was pretty great!  Mom and dad loved the cake, and the party was a hit.  Sheet cake?  Great success!


* NOTE:  Wilton did NOT ask me to write about their edible markers; I tried them out for this project and liked how they worked so have decided to include them on my blog on my own accord.  I purchased these for myself and recommend them for anyone looking to achieve that "colored" look.

Tuesday, September 13, 2011

Almond Grape Tea Cake


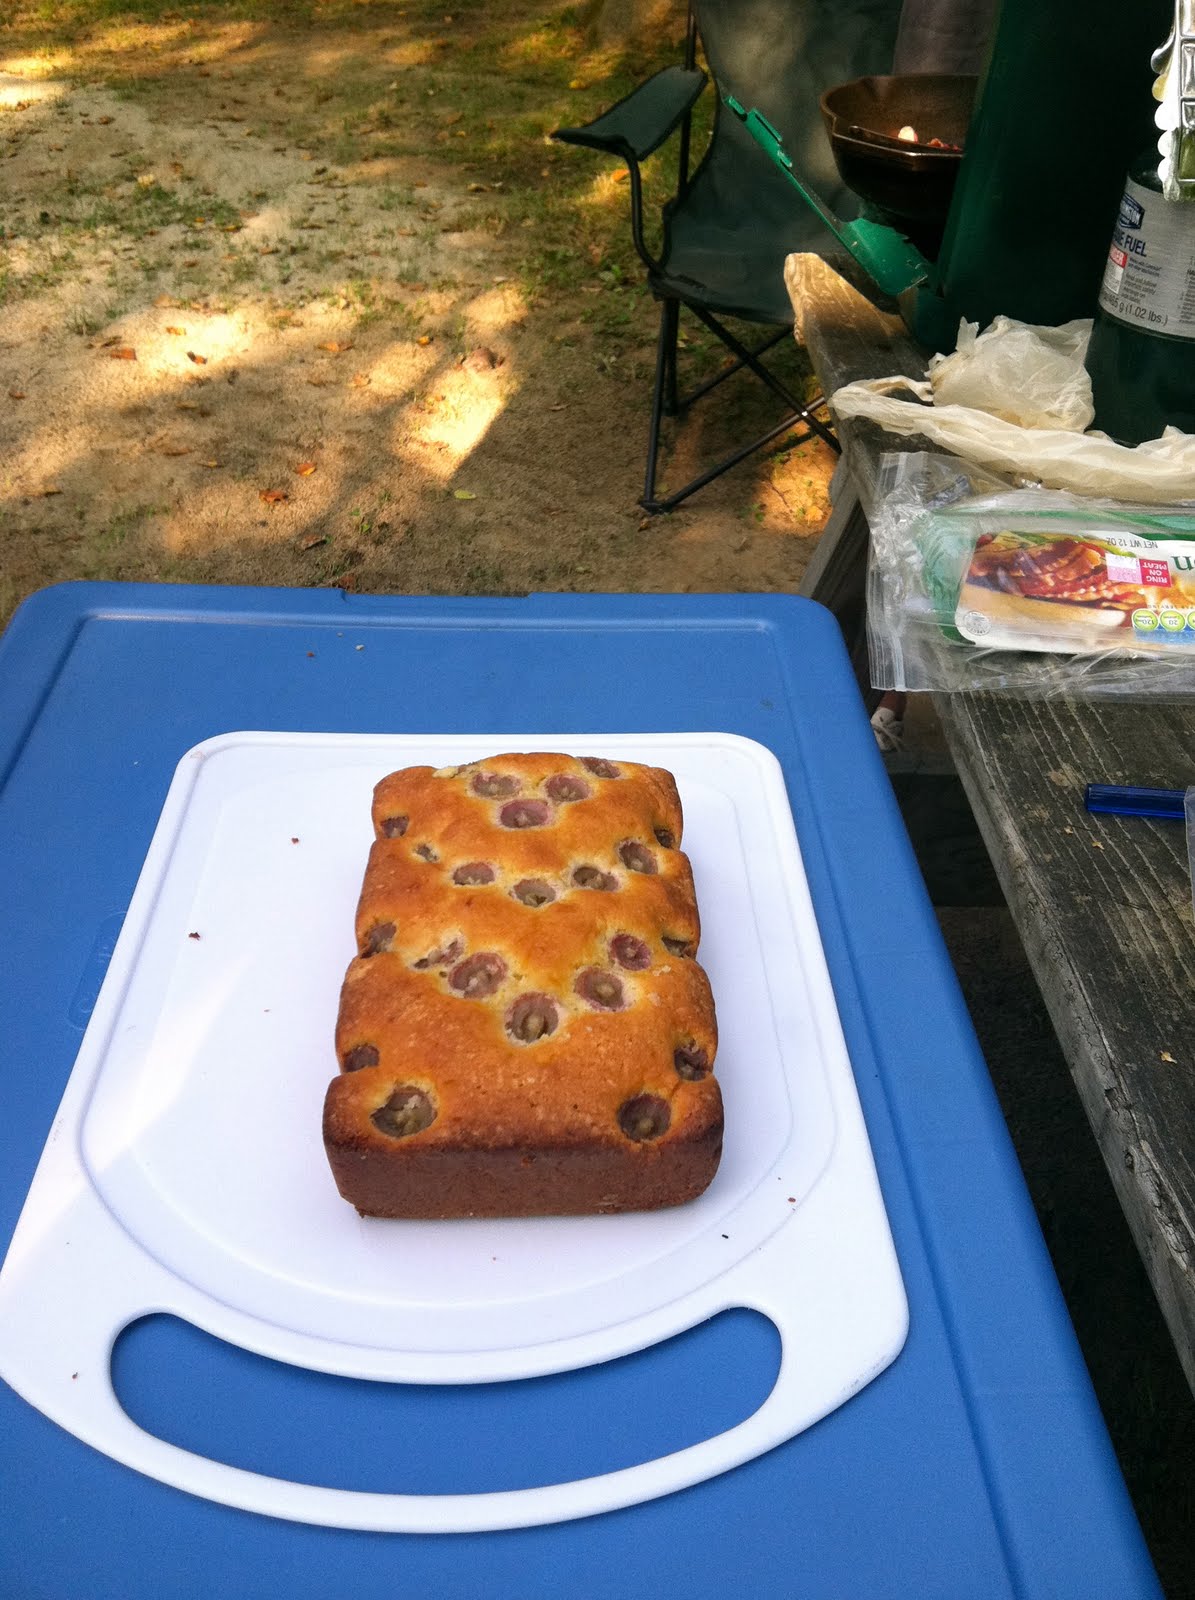
For cake three out of four for the Cake for Every Pan challenge, I present you with Martha Stewart's Almond Grape Tea Cake!  Baked in a square loaf pan, everyone will want to call this bread instead of cake.  I am totally on board with that, because it makes it acceptable to eat this sweet treat for breakfast!


I happened to bake this cake up just in time for my family's annual Labor Day camping trip to NH.  One morning with breakfast, we cut up slices and toasted them on the camp stove.  This cake, served warm with a side of hot chocolate is one of the best camping snacks we've tried.  Even if you don't see yourself eating this fire-side, I recommend baking it up next time you're enjoying breakfast or brunch with some of your own sweeties :)

Cake for every Pan Challenge #3 - great success!


Recipe adapted from Martha Stewart's Everyday Food:

Need:

  • 1 1/4 sticks unsalted butter at room temperature
  • 1 cup all-purpose flour
  • 3/4 cup sugar
  • 3 large eggs
  • 1 1/2 cups slivered almonds (not salted, totally plain.)
  • 1/4 tsp salt
  • 1 tsp vanilla
  • zest of one whole lemon
  • about 15-20 grapes cut in half
Do:
  • Preheat oven to 350 degrees
  • Spray your loaf pan with non-stick spray
  • Beat butter and 1/2 cup of the sugar on high for 3 minutes (make sure you time it!)
  • Beat in eggs one by one.
  • In a food processor, pulse almonds with the remaining 1/4 cup of sugar until you have a fine, home-made flour.  
  • Mix your almond flour into the butter mixture until combined, then add your vanilla and lemon zest.
  • Pour the batter into your loaf pan and smooth out the top.  
  • Arrange your grape halves ontop of the batter, pressing them in gently.  I did a chevron pattern, Martha did polka dots, you can do whatever you like!
  • Bake for about 1 hour, and then let cake cool on a wire rack.
  • Enjoy!


Friday, September 2, 2011

Upside-Down Blueberry Pluot Cake

Last week my girlfriends and I were lucky enough to enjoy a Kappa Thursday dinner together!  Shannon had just won her SEVENTH dodgeball championship, so she got a Thursday night off, yay!  She grilled up some steaks, tossed a salad and made some perfect corn on the cob for us, Lindsey brought the vino and I tried a recipe from my "Cake for Every Pan" challenge.


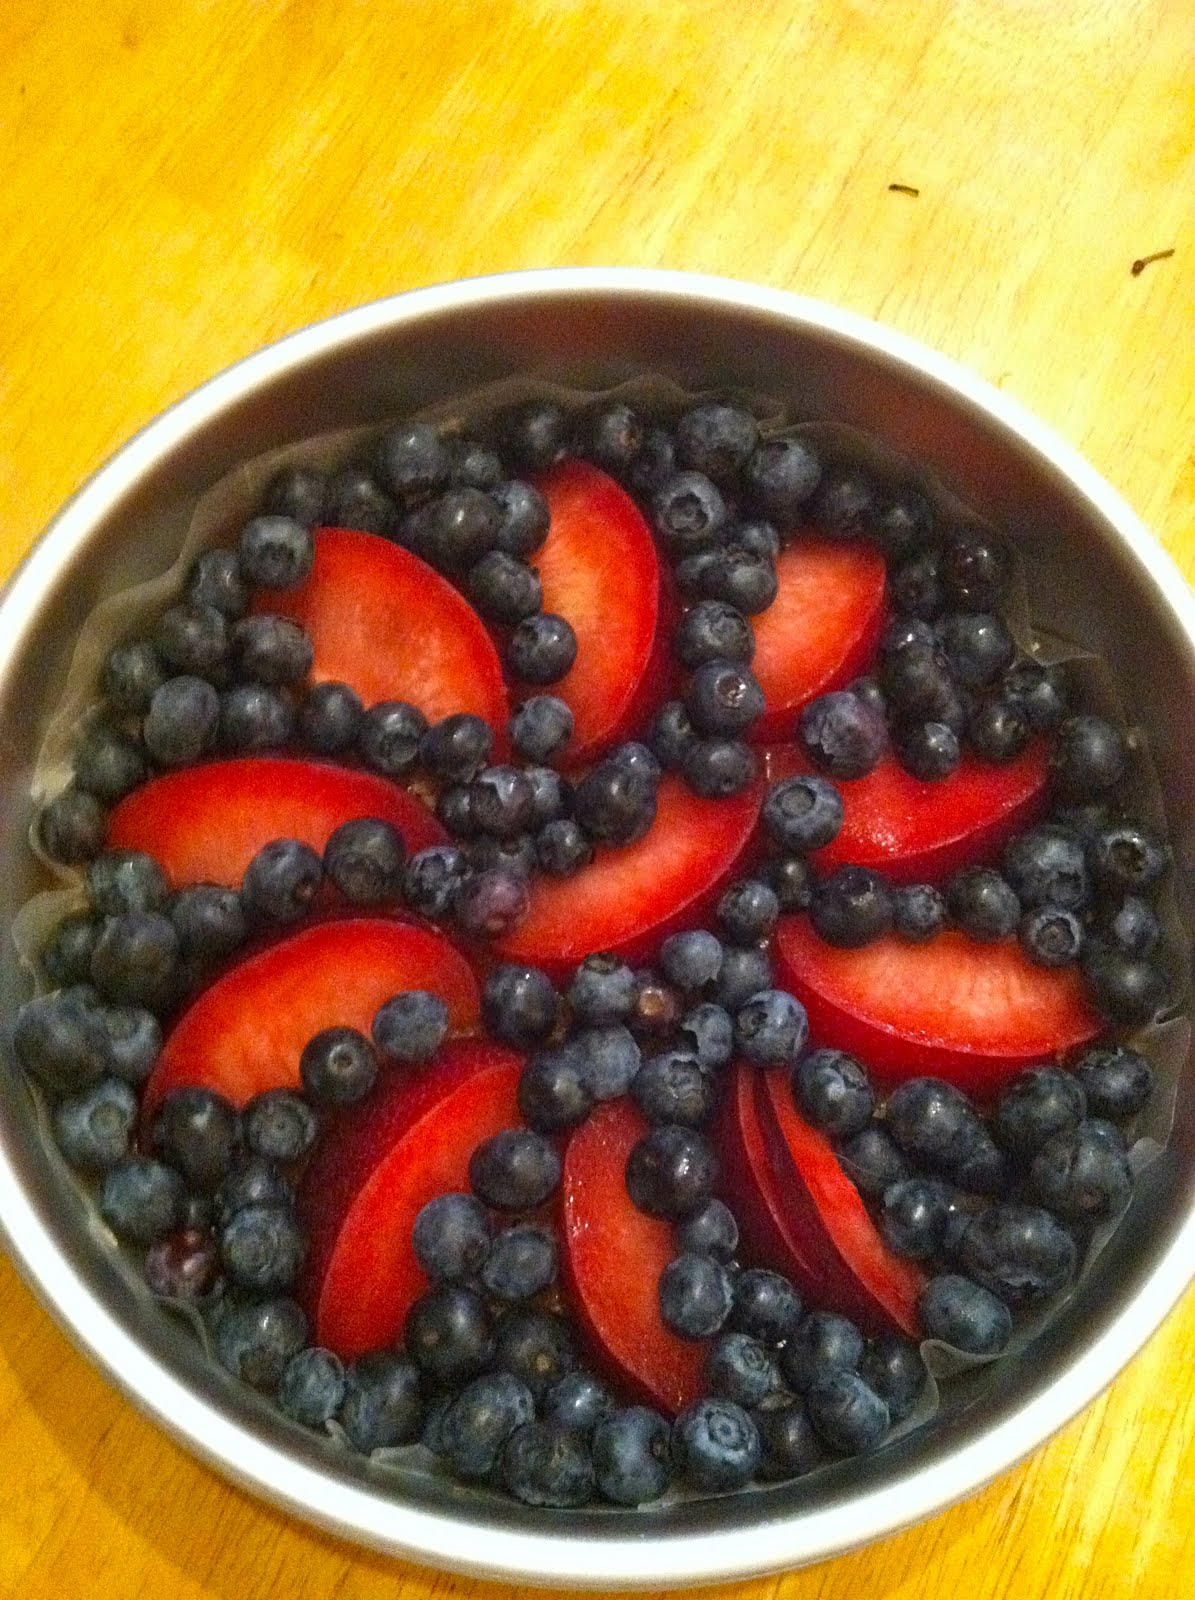
The cake?  Upside-Down Blueberry Pluot
The pan?  8" Round Cake pan

The cake turned out yummy but I wouldn't say it was one of my favorites.  Martha has another recipe for pineapple upside down cake that uses sour cream and that one is to die for.  I really have no complaints about this one, I just don't think it's going to make any of my personal "top" lists.


The original recipe calls for plums and blueberries...I like pluots and think they are a prettier color (if you haven't seen pluots in your grocery store- it's a hybrid fruit, half plum, half apricot) so that's why I tried them instead.

Here are a few picutres and the recipe- if you try it for yourself, let me know what you think!

'Nite, sweets!

Look at the little butter heart, too cute!!


Upside-Down Blueberry Pluot Cake
(Adapted from Martha Stewart's Plum Blueberry Upside-Down cake in the September Everyday Food)

Need:

  • 10 tablespoons of unsalted butter at room temperature
  • 1 cup packed brown sugar
  • 1 large pluot cut into 10/11 wedges
  • 1 1/2 cups blueberries
  • 1 large egg, 1 large egg white
  • 1 1/2 cups flour
  • 3/4 tsp baking powder
  • 1/4 tsp baking soda
  • 1/2 tsp salt
  • 1/2 cup buttermilk
  • 1 tsp vanilla extract
Do:
1- Preheat oven to 375 degrees and spray your 8" round cake pan with non-stick cooking spray

2- Cut out a circle of wax or parchment paper to cover the pan and go a little bit up the sides; press it into the pan and into the edge so its snug

3- Melt 2 tablespoons of butter and then pour it into the pan, coating your circle of wax paper.  Swirl it around so the whole bottom is coated. 

4- Sprinkle half of your brown sugar (1/2 cup) in the pan covering the butter, then place your pluot slices on top, in any design you like. 

5- Add in the blueberries, try to fill in the gaps where your pluot is not touching so that the whole bottom of the pan is covered in fruit

6- In your mixing bowl, beat 8 tablespoons fo butter and the rest of your brown sugar together- Martha recommends 3 minutes of this, and it comes out perfect.

7- Beat in your egg and egg white to combine.

8- In a separate bowl, whisk your flour, baking powder, baking soda and salt together.  Turn the mixer down to low so that you don't cover yourself in flour, and slowly add the mixture in.

9- Now beat in the buttermilk and vanilla, after it's incorporated, turn the mixer up to high and beat until smooth.

10- Pour your batter into the pan, and then tap it on a table or counter to get all of the air bubbles out.

11- Bake for 45 minutes or until the cake is nice and gold, you might see some fruit bubbles, and your test toothpick comes out clean.  

12- Let the cake cook on a wire rack for about an hour.  After the hour is up, run a knife around the edge and flip our pan over to release the cake onto your serving plate of choice.  

13- Enjoy!


Sunday, August 28, 2011

Chocolate Oreo Cupcakes with Strawberry Fluff Frosting


Today I am happy to share the first post of 4 in my self-made Martha Stewart Cake for Every Pan challenge.  In the September issue of Everyday Food, Martha published four different cake recipes that use four different types of cake pans.  I challenged myself to try all four and blog them, because all four look really tasty!  Here's the lineup:

-8" Round pan: Plum/blueberry upside down cake
-Cupcake pan: Cookie cupcakes with raspberry fluff frosting
-Loaf pan: Almond-grape tea cake
-Sheet pan: Vanilla sheet cake with malted milk chocolate frosting


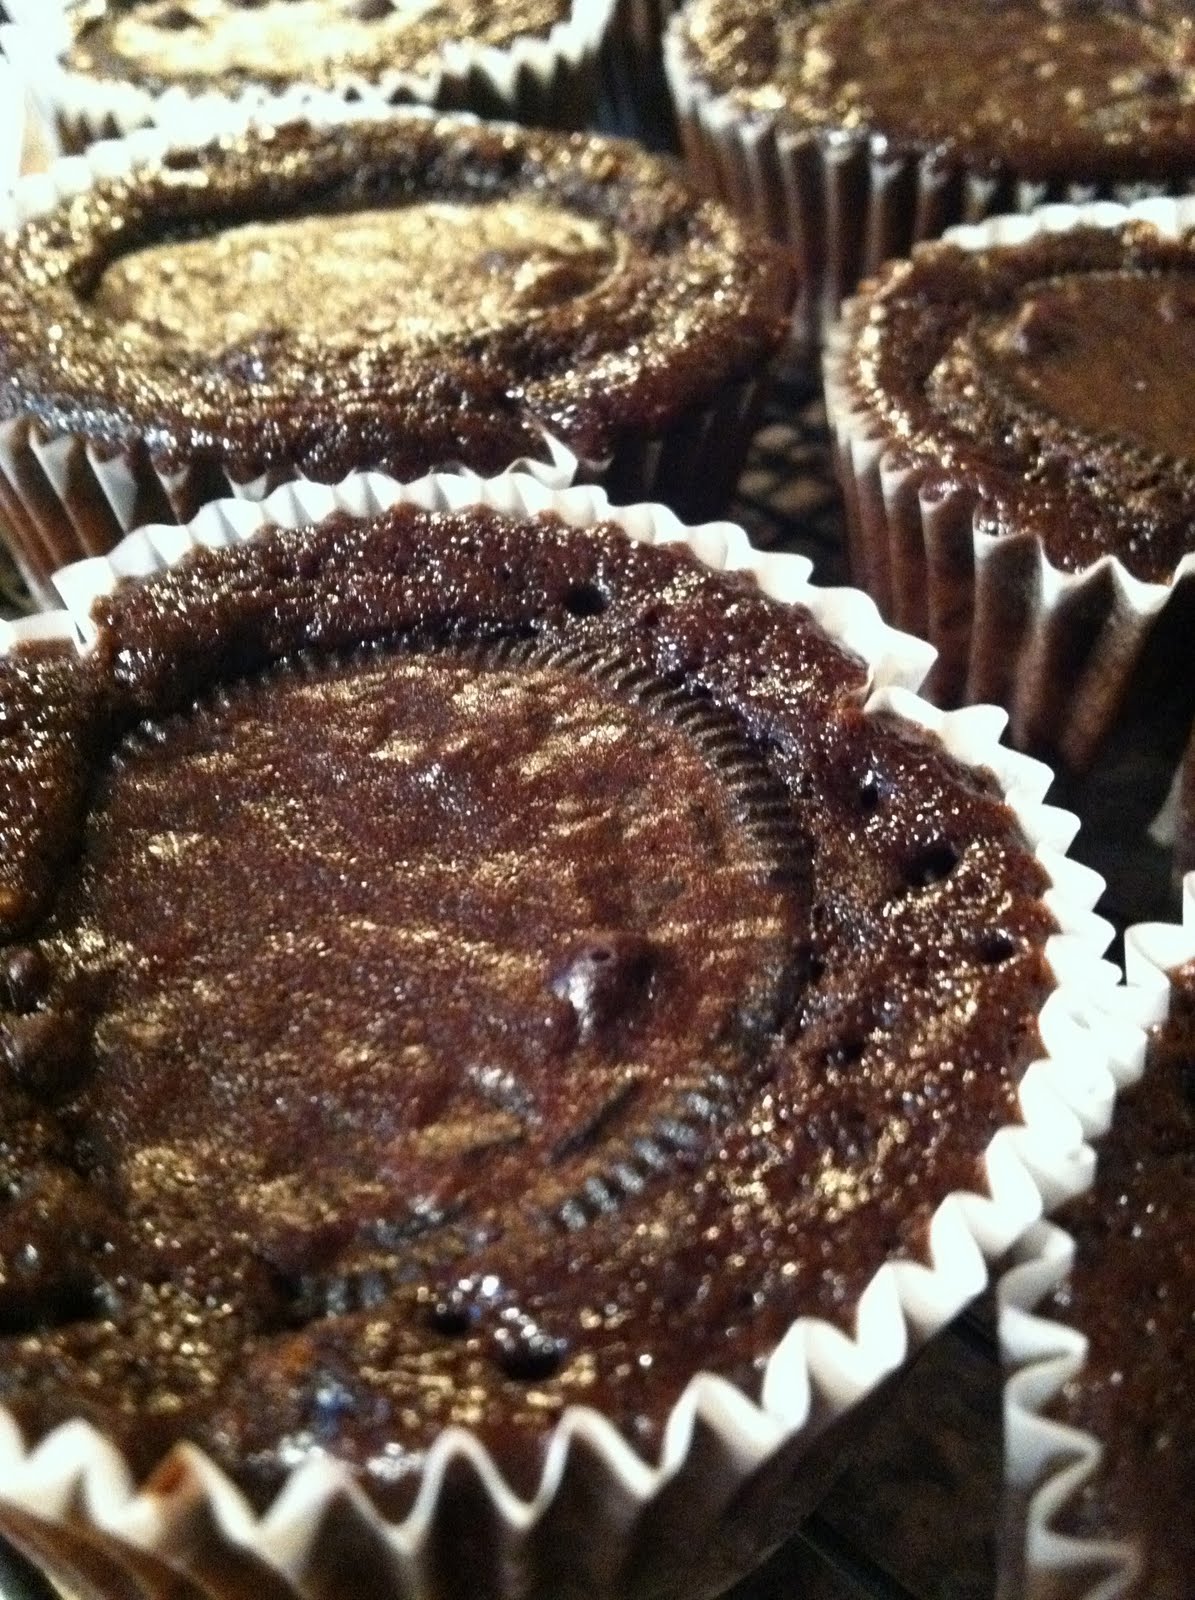
So, for the first Cake for Every Pan project, I bring to you chocolate oreo cupcakes with strawberry fluff frosting.  I chose these because it is my birthday and I love chocolate, so I thought these would make a great treat for myself! :D  The recipe is very easy and comes together fairly quickly.  The cake is dense, the frosting is smooth and creamy- similar to oreo filling, and the whole treat together is fantastic.  It's like a supercharged sweet- delivering cake, cookies, and FLUFF all in one bite.  These babies are de-lish and I am sure these would be a hit at a dinner party or work event or any place where you want to make sure people like you (haha!)

Lastly, I'm sure many of you have heard about Hurricane Irene which has come up the east coast.  My thoughts and prayers are with all who have been affected by this storm; power outages, blowing debris, flooding, etc. are not fun and I wish people safety and fast and efficient clean-up!  Hubs and I were fortunate to have only seen a small bit of rain and a few strong wind gusts.  We've had our power all day and are comfy, cozy and safe at home.

Let me know how your cookie cupcakes come out, and keep an eye out for the 8" upside down cake I'll be posting about next!  Here is my version of Martha's recipe; I tweaked slightly for the ingredients I had on-hand.

Oreo Cupcakes with Strawberry Fluff Frosting


Need:

  • 2 sticks of butter, room temperature
  • 1/2 cup unsweeted cocoa powder
  • 1 cup all-purpose flour
  • 1 cup granulated sugar
  • 3/4 tsp baking soda
  • 1/2 tsp baking powder
  • 1/4 tsp salt
  • 1 large egg plus 1 large egg yolk
  • 1/2 cup buttermilk
  • 1/2 tsp vanilla
  • 12 oreo cookies 
  • 3 tbsp strawberry preserves
  • 3 cups Fluff
  • 1/3 cup confectioner's sugar
Do:

  • Preheat oven to 350 degrees and line your cupcake pan.  The recipe makes ~12...I got 17 cupcakes at the end. 
  • Melt 2 tbsp butter, and put it aside to cool. 
  • In the bowl of your mixer, whisk together cocoa, flour, sugar, baking soda, baking powder, and salt.  
  • In a separate bowl, beat the egg and egg yolk with a fork, and add to the cocoa mixture.
  • Also add buttermilk, vanilla, melted butter, and 1/2 cup of hot water to the cocoa mixture.  Use the whisk attachment and whisk until smooth.
  • Using a measuring spoon, put 1 tablespoon of batter into each of your cupcake cups.


  • Drop an oreo in each cupcake cup- do not press it down


  • Using your measuring spoon, put another 1- 1.5 tablespoons of batter on top of each cookie.  The cookies will show through a little bit; it's okay!


  • Bake for 15 minutes, and then let cool on a cooling rack.


  • For the frosting, mix the remaining butter and strawberry preserves together in your mixer with the paddle attachment until smooth.
  • Add the Fluff and confectioner's sguar and beat until fluffy, about three minutes.  Note- as you can see, my frosting came out more white than pink.  If you want a prettier frosting, I'd try adding a couple drops of red food coloring to make the frosting more pinky.
  • Pipe or frost cupcakes however you like (Probably a good idea to let the cupcakes cool completely because the frosting is a little runny, you don't want it to melt even more.)


Wednesday, August 24, 2011

Dulce de Leche Cake

Not so long ago, hubs and I tried a little place called Coffee, Tea and Me in Melrose.  It's a great little shop that sells coffee, pastries, tea, smoothies, sandwiches, etc.  Very cute, and the service was great.  Most importantly, they had this cake out...


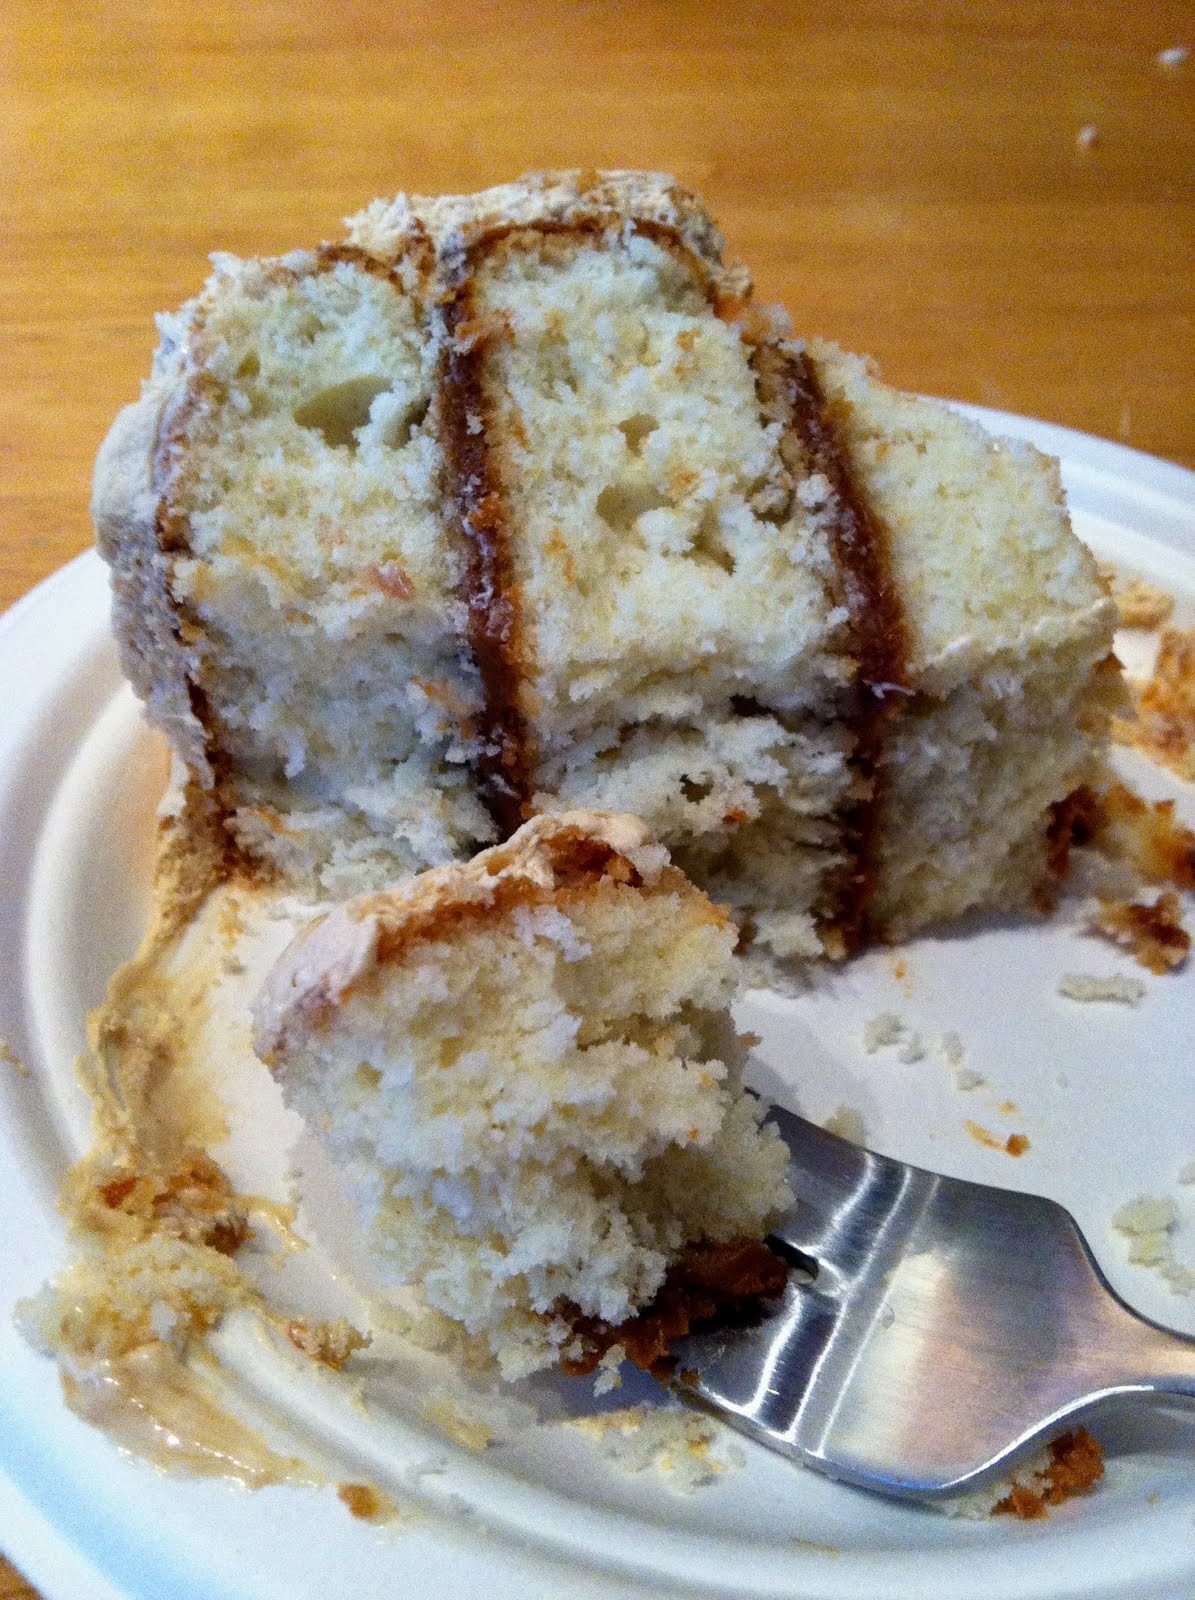
Even though it's simply decorated, the caramel called my name and I had to get a slice.  I'm a sucker for caramel and cake, soooo, that was an easy one.

The cake was dense...very heavy (but good), the frosting was a balanced light and sweet caramel buttercream, and each layer of cake was separated with thick, gooey caramel.  The combination of all three elements made each bite absolutely de-lish.

This cake would be SO good around the holidays.  Something about the heavy cake and caramel reminded me of cold weather.  I'm going to file this idea away to try until the fall/early winter, but if you can't wait to try something similar, scoot on up to Coffee, Tea & Me in Melrose, or check out some recipes I found that look like they may be good!  I haven't tried these yet, so if you do, let me how how they are!

Spork or Foon
What a Dish!
Technicolor Kitchen